Quick start
This guide shows how to create a server with Pilot and open your first site. It takes about 10 minutes.
Before you begin
- A work email address. Frappe Cloud signs you in with a code that it sends to this address. There is no password.
- A payment method, such as a card. The console asks for it during setup.
1. Sign up
- Open the Frappe Cloud console. Click Create an account.
- Type your Full name and Work email. Click Continue.
- Type the Code from the email.
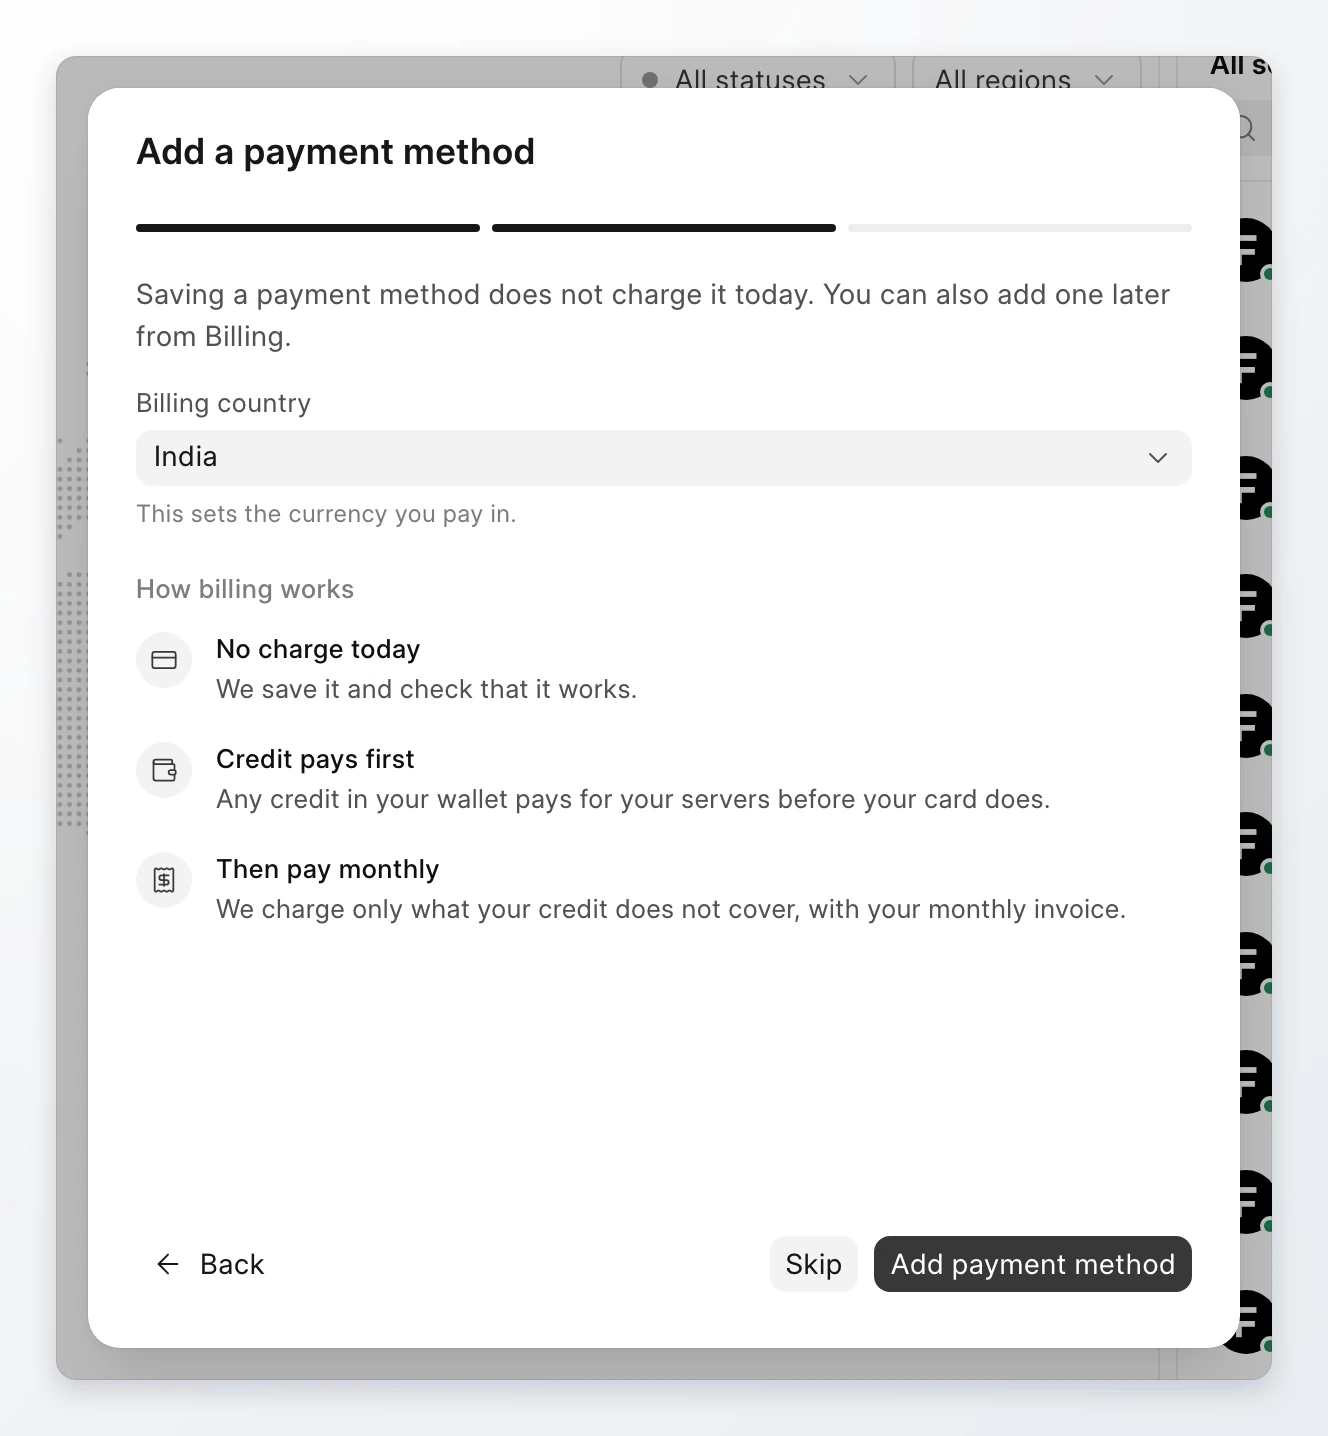
The console opens a setup dialog with four steps:
| Step | What you do |
|---|---|
| Create your team | Type a Team name. A team holds your servers, members, and bill. |
| Invite your team | Add the email addresses of people who work with you. You can skip this step. |
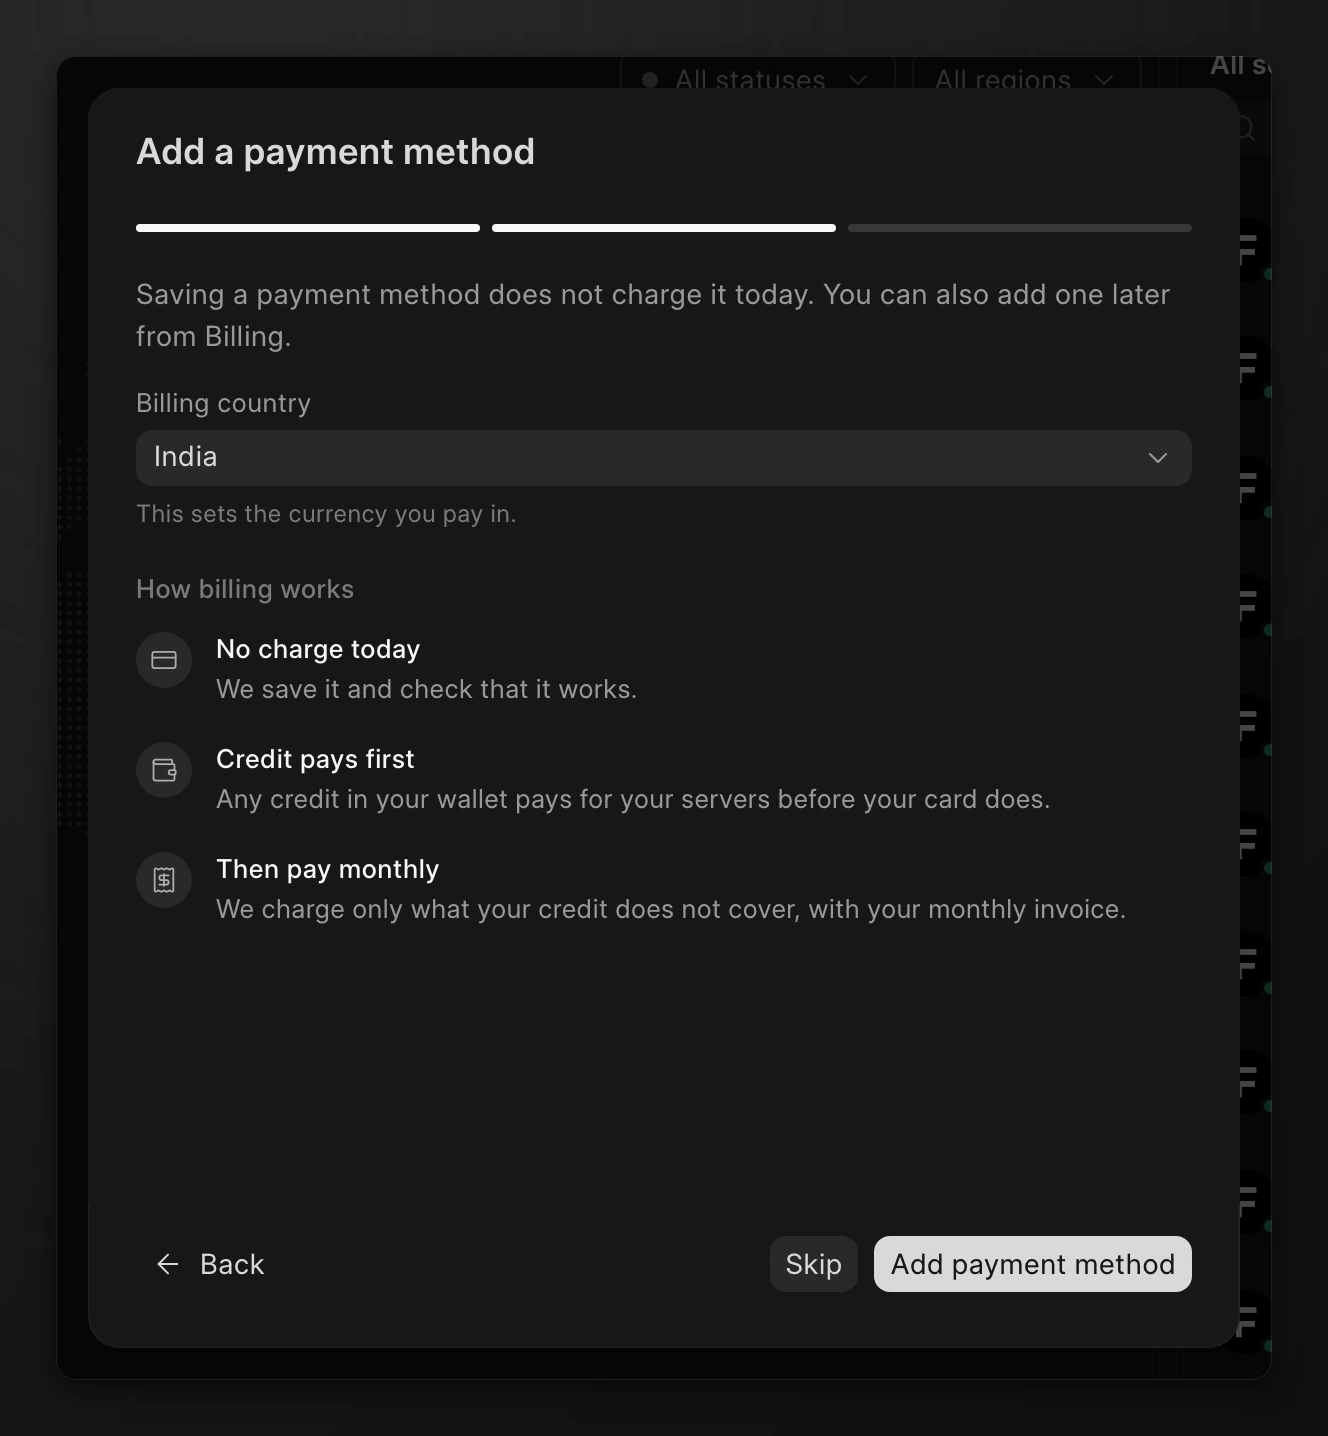
| Add a payment method | Add a card. Your team pays for its servers at the end of each month. |
| Get started | Go to the console. |
Click Skip to leave a step for later. Click Back to go to an earlier step. You cannot go back to Create your team, because the team exists after that step.
2. Create a server
- Go to Servers. Click New server.
- Type a Name, such as
erp-production. - Under Image, select Frappe. Select the newest Image build.
- Under Region, select Mumbai, India.
- Select a plan. You can resize the server later.
- Click Create server.
The button shows each stage: Request accepted, Sent to the region, and Building your server. When it shows Server ready, the console opens the server.
3. Check the server
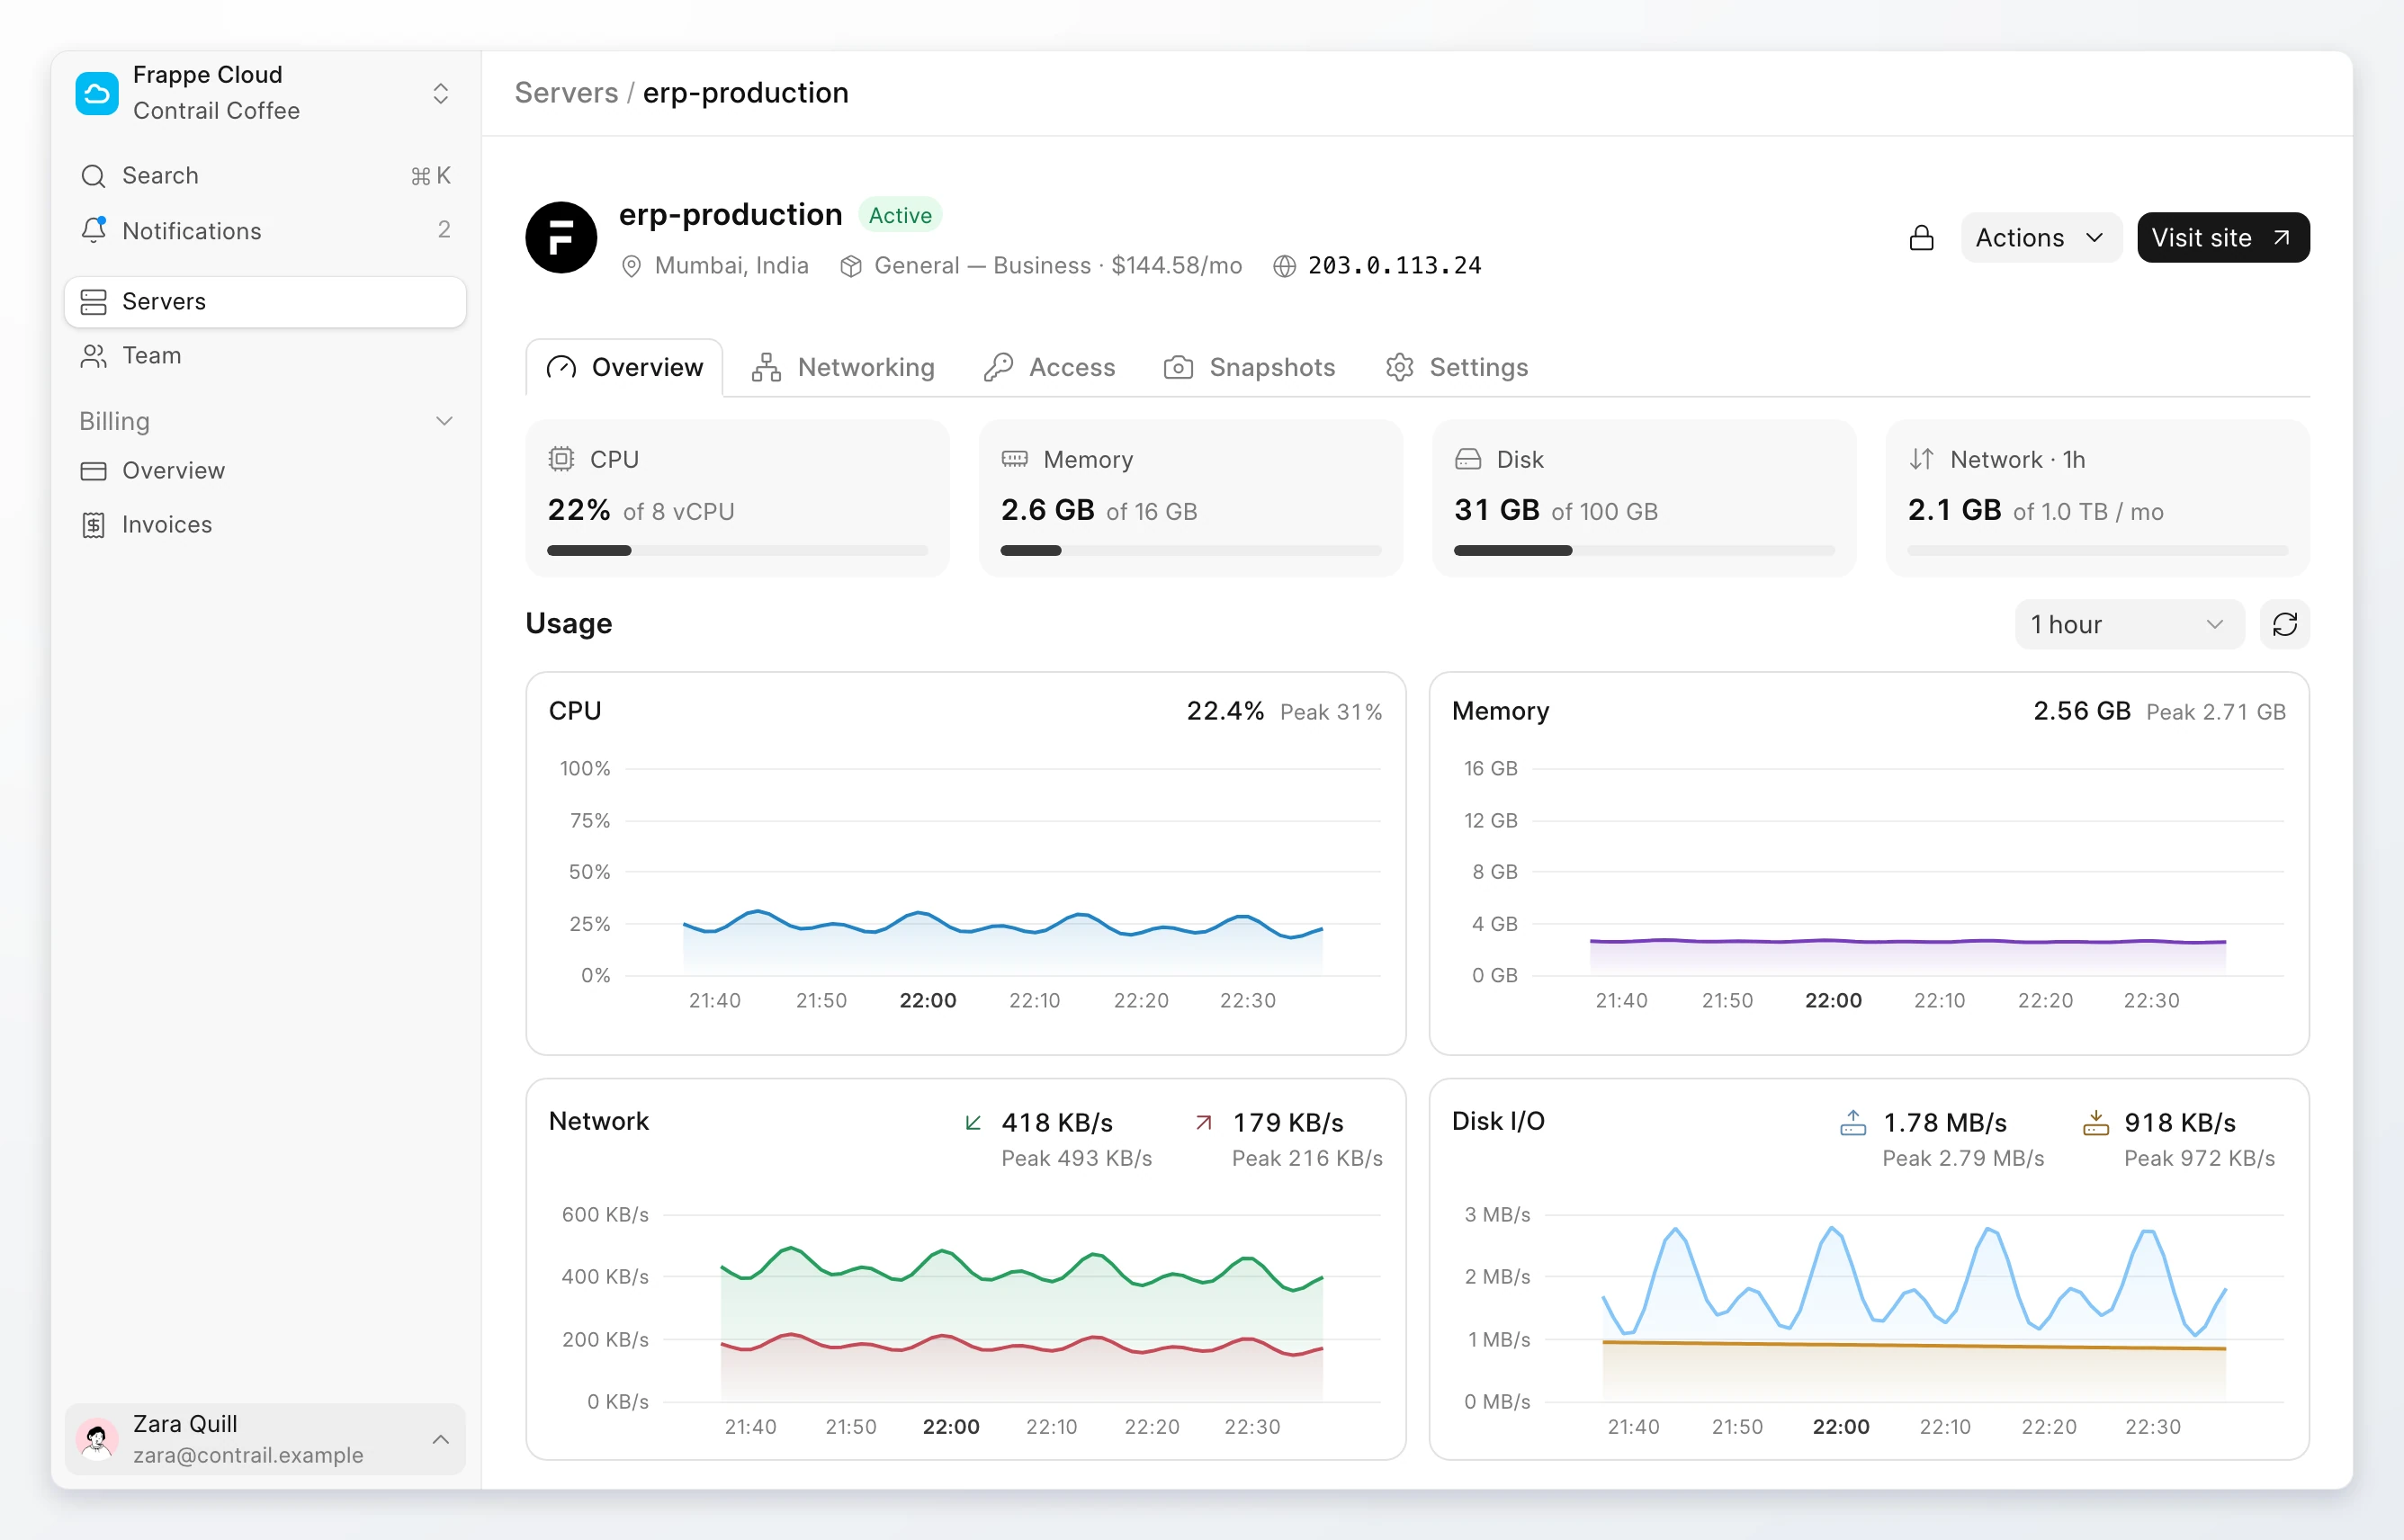
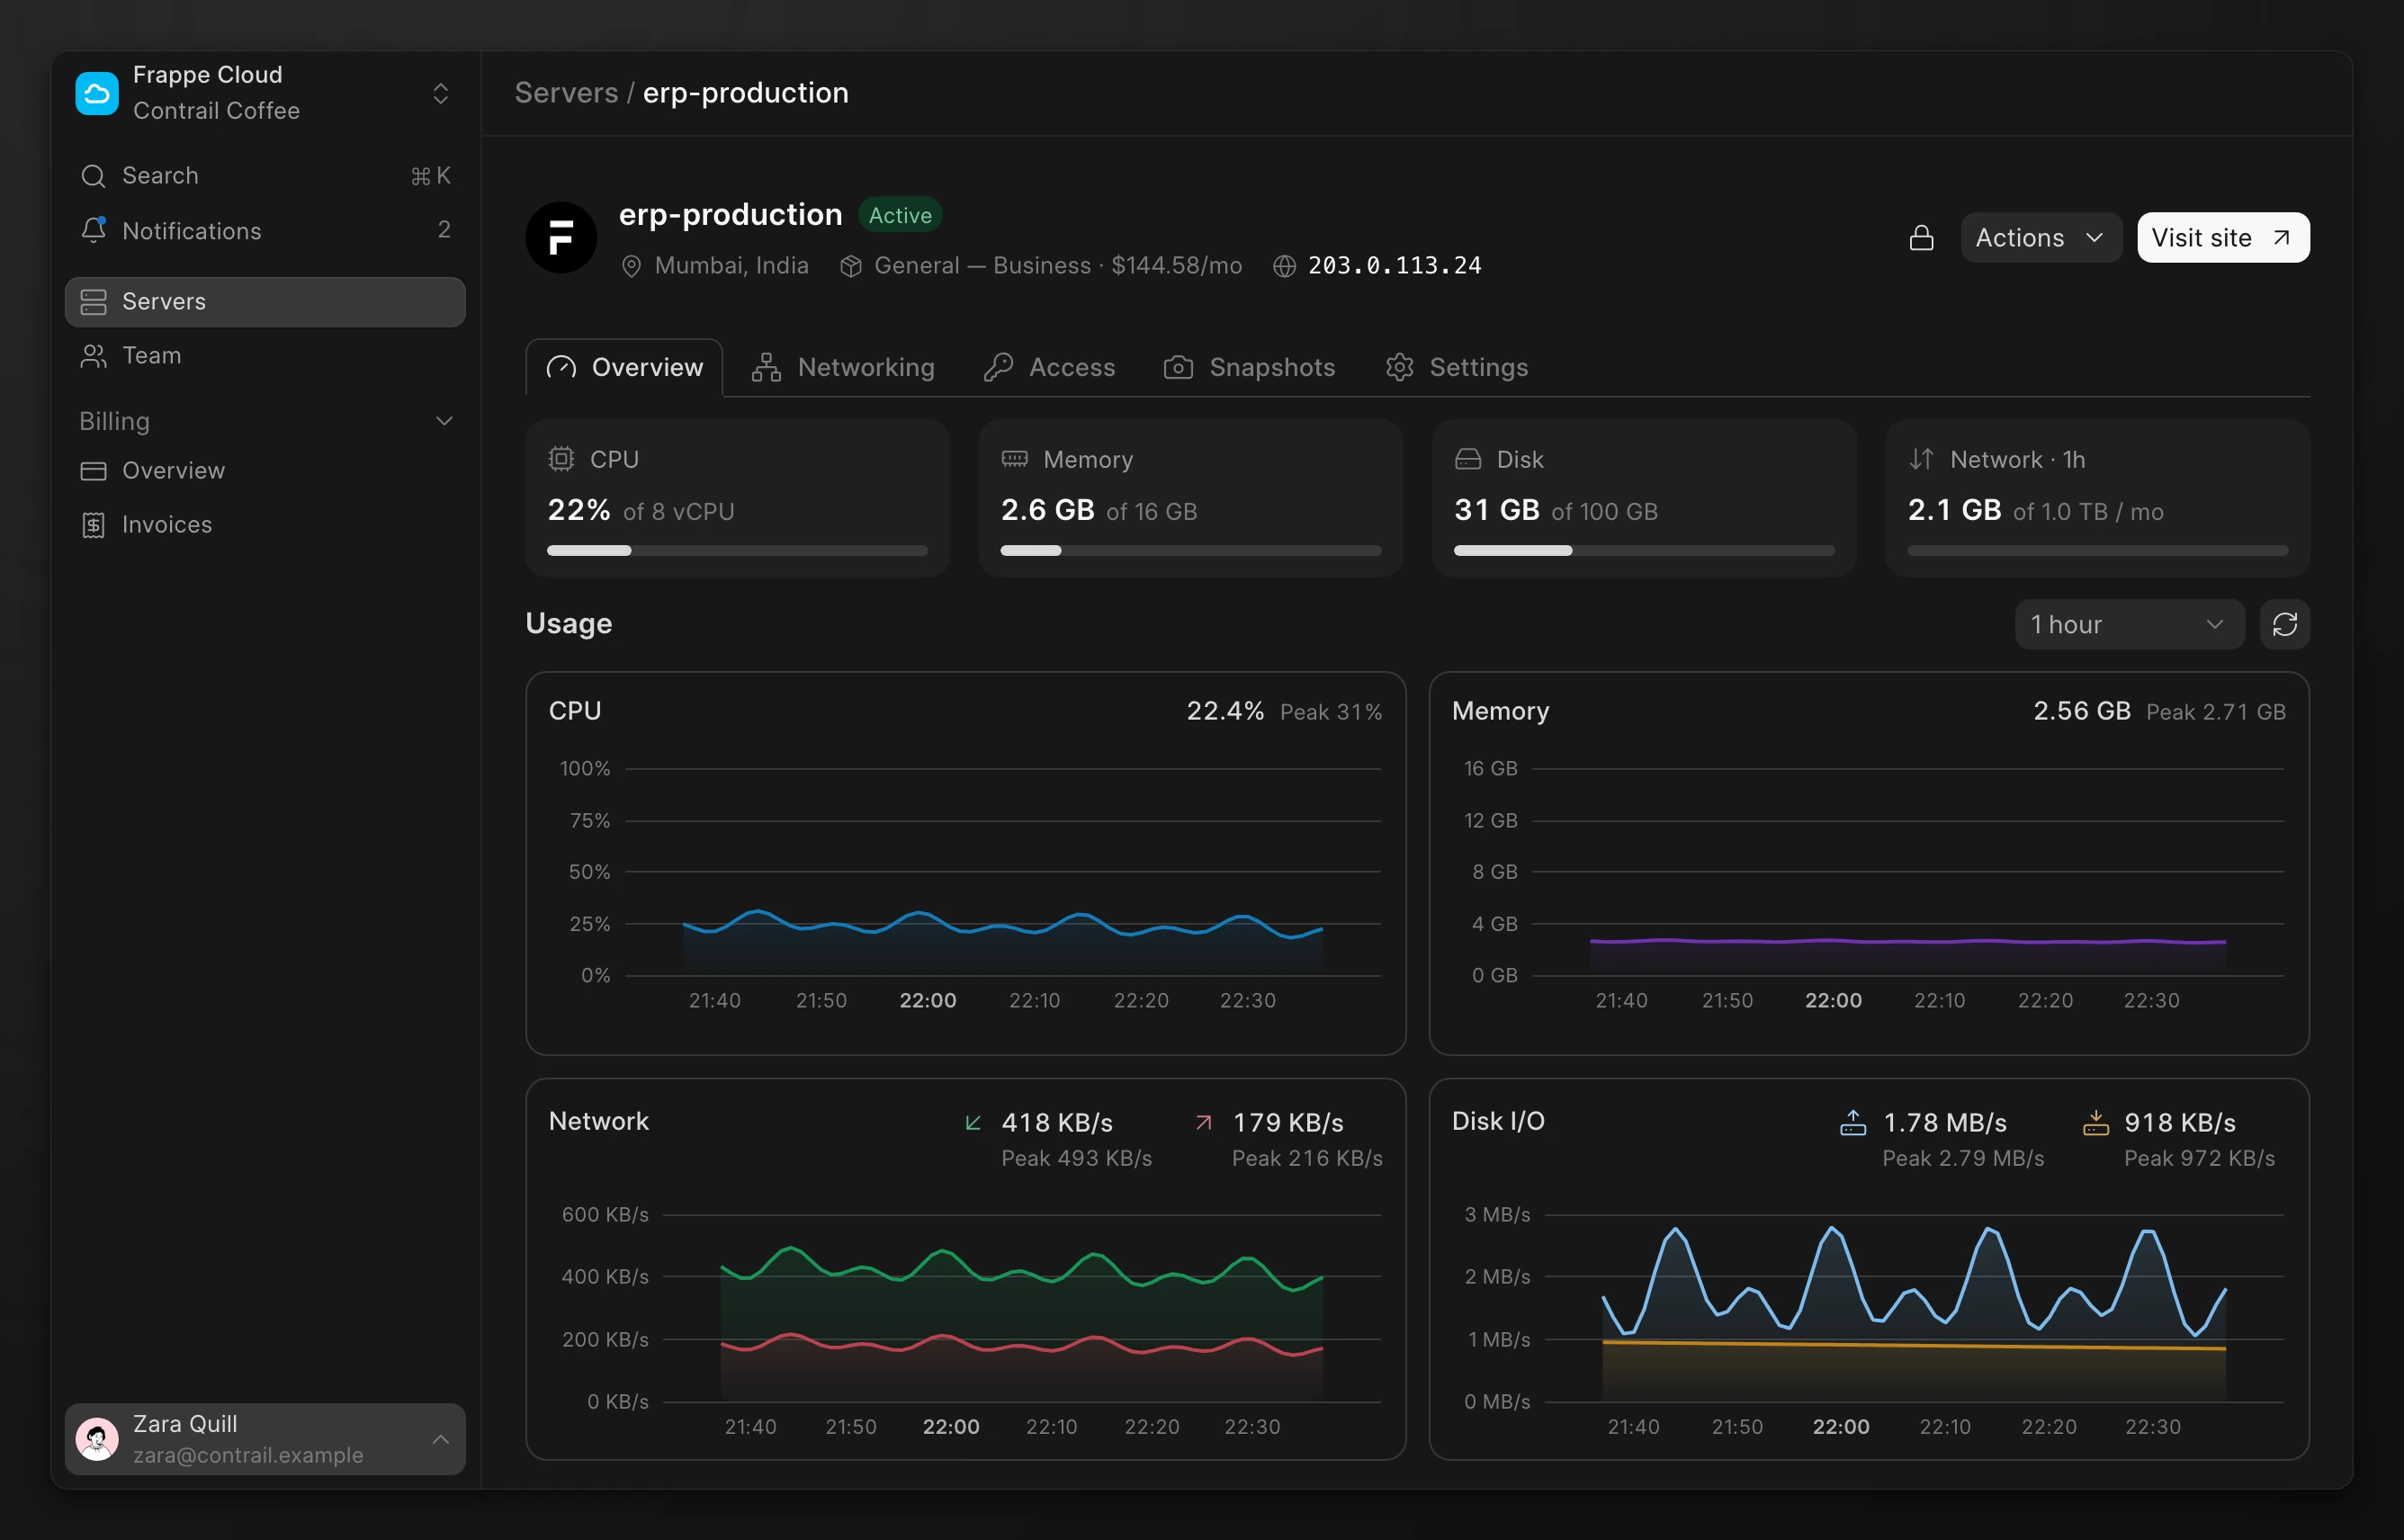
The server page shows the status Active and live usage charts. The header shows the region, the plan, and the server's address.
4. Open your site
Click Visit site in the server header. Your site opens at an address in the region, such as erp.bom.frappe.cloud.


If the image build has no site, the button is Open Pilot. Pilot opens, and you can create a site there.
What next
Create a staging server: try upgrades and new apps on a second server before production.
Install apps: add ERPNext, Helpdesk, or your own app to the site.
Add a domain: serve the site from your own domain.
Connect with SSH: add a key and sign in to the server.
Invite your team: give other people access with a role.